

Are you craving a delectable and easy-to-make sweet treat? Look no further than these Peanut Butter Cups, guaranteed to satisfy your sweet tooth. This homemade recipe is absolutely amazing and so simple that you'll want to make them over and over again. Dive in to learn how you can recreate this mouthwatering delight in your kitchen!

Peanut Butter Cups are a favorite all year round but often gain popularity during holidays like Halloween and Christmas. Speaking of delightful sweets, have you ever tried Salted Caramel Chocolate Bark? Much like our Peanut Butter Cups, this treat combines sweet and salty flavors in a satisfying bite. Don't miss the recipe for an equally amazing dessert experience!
Jump to:
PREFER TO WATCH INSTEAD OF READ?
Ingredients
- Peanuts
- Vanilla
- Salt
- Sugar
- Water
- Milk chocolate
See recipe card for quantities.
Instructions

Make Homemade Peanut Butter(Optional)
Heat oven to 325°F and bake peanuts for 20-25 minutes. Grind peanuts in a food processor until smooth. Move the paste to a stand mixer, add salt and vanilla, and mix. In a saucepan, heat sugar and water to 250°F. Add this to the mixer. Once cool, spread the peanut butter on parchment paper. Enjoy!

Freeze Peanut Butter
Roll it out to 1cm thickness and then freeze for 30 minutes before proceeding with the next step in the recipe

Cut out Freezed Peanut Butter
Use a cookie cutter a little bit smaller than your muffin liner to form disks, and then put them back in the freezer until you need them for the next stage of the recipe.

Melt Chocolate
Melt the milk chocolate in a water bath.

Assemble Base
Add chocolate to the bottom of your liner and press in the peanut butter disk.

Add More Chocolate
Cover the peanut butter with more chocolate and tap for evenness.

Refrigerate
Chill the cups until they're set.

Enjoy!
Your Peanut Butter Cups are ready to be enjoyed.
Hint: When melting the chocolate, ensure it's smooth and silky without any lumps. The temperature should be just right, neither too hot nor too cold, to achieve the perfect consistency. This is key to the divine texture of your Peanut Butter Cups.
Substitutions
- For a vegan version, substitute the milk chocolate with dark chocolate.
- To reduce sugar, you can use a sugar substitute.
Variations
- Add a sprinkle of sea salt or crushed nuts on top for a crunchy twist.
- Use dark or white chocolate for a different flavor profile.
🍴 Equipment
Homemade Peanut Butter
- Baking Sheet: To spread peanuts for baking.
- Food Processor: To grind peanuts into paste.
- Stand Mixer: To mix peanut paste with salt and vanilla.
- Saucepan: To heat sugar and water.
- Cooking Thermometer: To measure temperature of sugar-water mix.
- Parchment Paper: To place and roll the peanut mixture.
- Rolling Pin: To roll peanut mixture to 1 cm thickness.
- Cookie Cutters: To shape peanut mixture into disks.
Chocolate
- Mixing Bowls: To melt chocolate in a water bath.
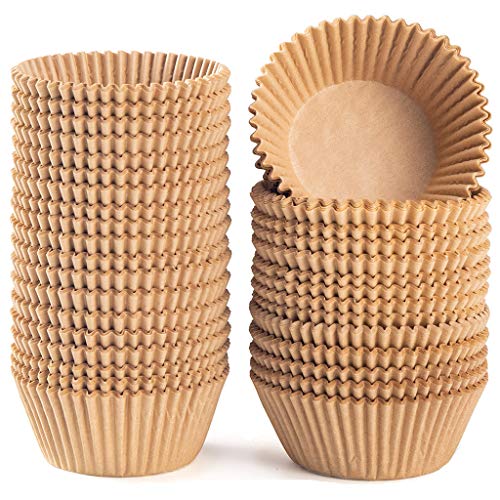
- Muffin Liners: To shape the chocolate treats.
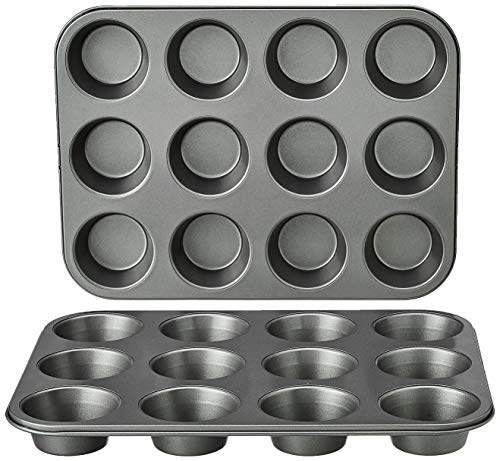
- Muffin Pan: To hold the muffin liners.
Most Useful Equipment: Stand Mixer/Hand Mixer. It does heavy mixing work for both peanut paste and the final product.
Storage
Store Peanut Butter Cups in an airtight container in the refrigerator for up to a week, or in the freezer for up to a month.
Top tip
Make sure not to overheat the chocolate as it can seize and become grainy. Gentle and slow melting ensures a smooth, glossy finish.
FAQ
Yes, you can, but homemade provides a fresher flavor.
Yes, feel free to customize with your favorite toppings.
A hand mixer will work; just beat longer for smoothness.
Certainly! They are perfect for gatherings.
With adult supervision, kids can enjoy making this treat.
Related
Looking for other recipes like this? Try these:


How to Make Homemade Peanut Butter Cups Like a Pro
Create delicious Peanut Butter Cups with our easy and flavorful homemade recipe; a sweet treat that's sure to please!
- Total Time: 1 hour
- Yield: 12 cups
Ingredients
• 250g Peanuts
• 5ml vanilla
• 2g salt
• 75g sugar
• 45ml water
• Milk chocolate
Instructions
Homemade Peanut Butter
- Bake peanuts at 325F for 20-25minutes
- Grind in a food processor until smooth
- Put the peanut paste in a stand mixer
- Beat it and add salt and vanilla
- In a saucepan, bring sugar and water to 250F
- Add it in a stream to your stand mixer
- When the mixture is cold, place it on a parchment paper
- Roll it out to 1cm thickness
- Freeze for 30 minutes
- Use a cookie cutter a little bit smaller than your muffin liner to form disks
- Put them back in the freezer until you need them
Chocolate
- In a water bath melt the milk chocolate
- Add a little milk chocolate to the bottom of your liner
- Press in the peanut butter disk
- Add a little bit more chocolate
- Tap the muffin mold on the counter to get even chocolate on top
- Refrigerate
- Enjoy
- Prep Time: 15 minutes
- Cook Time: 25 minutes
- Category: Dessert
- Method: Baking, Mixing
- Cuisine: American
- Diet: Vegetarian
Food safety
- Use a thermometer to accurately gauge the temperature of sugar and water.
- Store Peanut Butter Cups properly to maintain freshness.


Leave a Reply